- 1闪耀暖暖11.24幻之海流光活动详情_闪耀暖暖11月24号...
- 2原神料理制作攻略_原神料理如何进行烹饪
- 3三星N9008刷机后变砖开不了机如何办_手机技巧
- 4阴阳师渡世之风集结活动内容奖励_阴阳师渡世之风集结活动详情
- 5三星Galaxy A40s手机性能如何 三星Galaxy ...
- 6风云岛行动风牧远石器时代时装怎样取得_风云岛行动石器时代皮...
- 7试客小兵任务刷新时间是什么时候 试客小兵任务更新时间详...
- 8天玑1000与骁龙765g哪款性能好 天玑1000与骁龙7...
- 9oppo r9s不清理后台运行的程序会如何_手机技巧
- 10iPhone6无法连接wifi怎么解决_iphone指南
- 11小米3怎么拥有iOS7状态栏?_手机技巧
- 12vivo X5如何设置使用来信息播报_手机技巧
iPhone是苹果公司(Apple Inc. )发布搭载iOS操作系统的系列智能手机。截至2021年9月,苹果公司(Apple Inc. )已发布32款手机产品,初代:iPhone,最新版本:iPhone 13 mini,iPhone 13,iPhone 13 Pro, iPhone 13 Pro Max;iPhone系列产品静音键在设备正面的左侧 [46-47] ;iPhone 5之前机型使用30Pin(即30针)接口,iPhone 5(包含)之后产品使用Lightning接口。
前段时间,本站刚为大家带来了《苹果iPhone7 Plus全球首次拆解视频》,新一代iPhone终于有了防水功能,IP67级别的防护让我们在诸如雨天或是其他一些情况下使用手机时也能不再那么窘迫,对消费者而言无疑是一个很棒的消息,那么在今天这个iPhone 7和7Plus首销的日子里,网易手机联合GeekBar,抢先为大家带来了iPhone 7的详细拆解。
新的iPhone会有哪些针对防水作出的设计,iPhone7做工怎么样呢?下面不妨来看看笔者带来的关于iPhone7拆解图评测,如下。
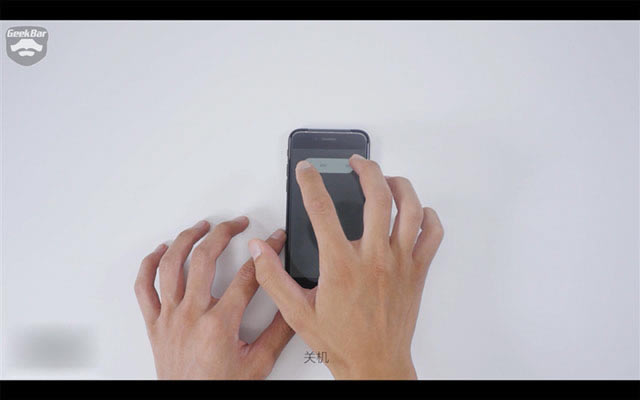
拆解的第一步,自然就是关闭手机,还想再无损伤装回去的话,没得商量。
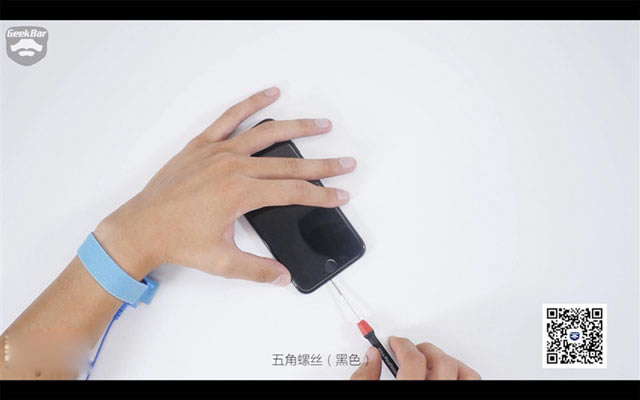
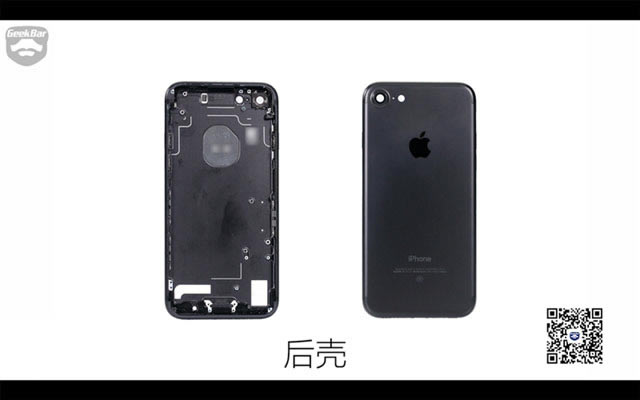
卸掉尾插螺丝,将屏幕和背板的锁定解除
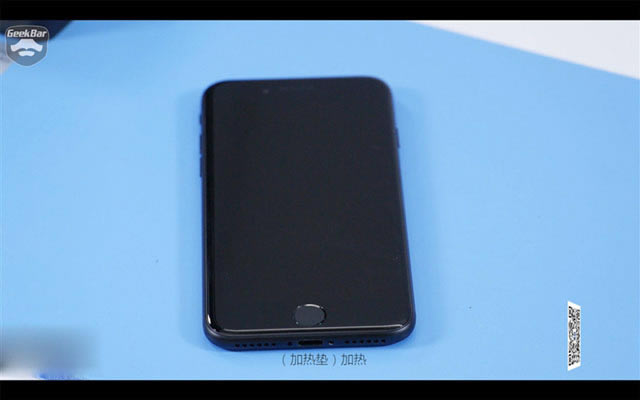
随后要对手机进行一定的加热 以便分离屏幕与后壳部分
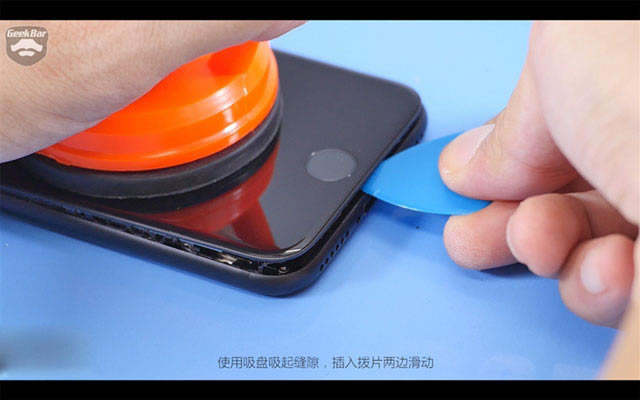
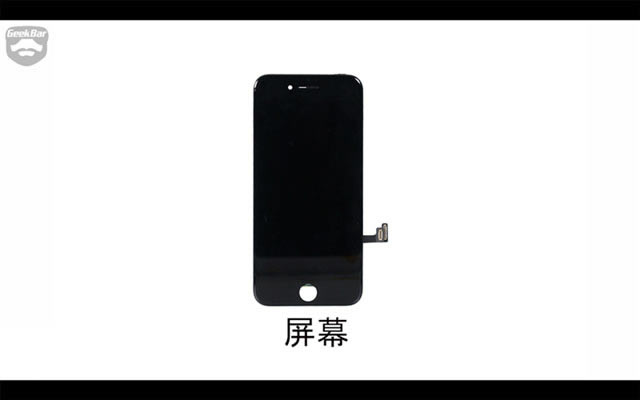
好 大吸盘上来先将屏幕吸起一些 然后用拨片左右挑起。
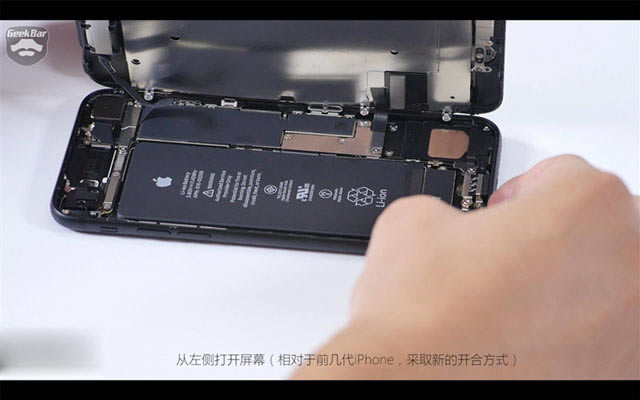
完全掀起屏幕后要稍加小心 这一次排线的方向有些不同 要从左侧打开屏幕。
由于排线上方有金属片作为保护 所以我们要先把它解决。
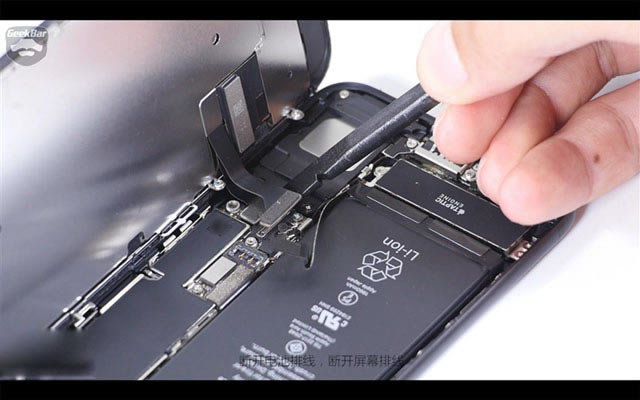
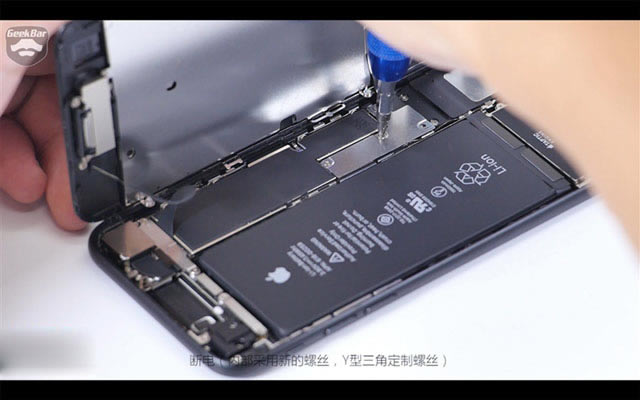
在断开屏幕排线之前一定要先将电池排线断开 以免对屏幕或pcb上的电阻产生损伤。
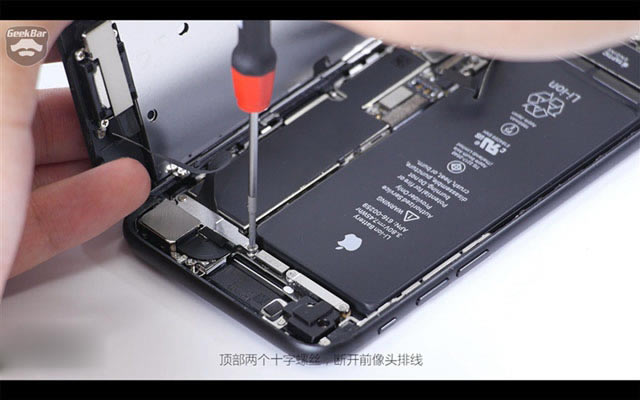
又是一片压在排线上方的金属片 十字螺丝刀伺候。
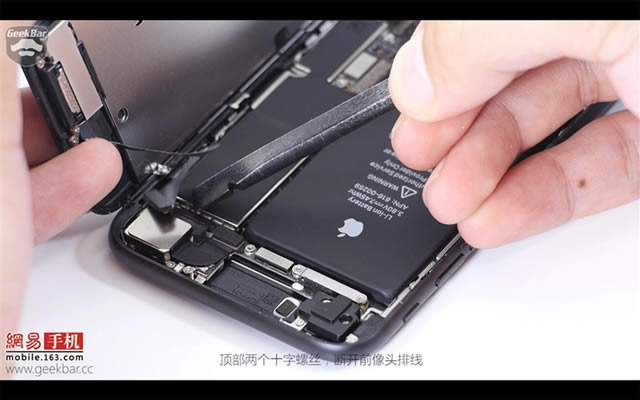
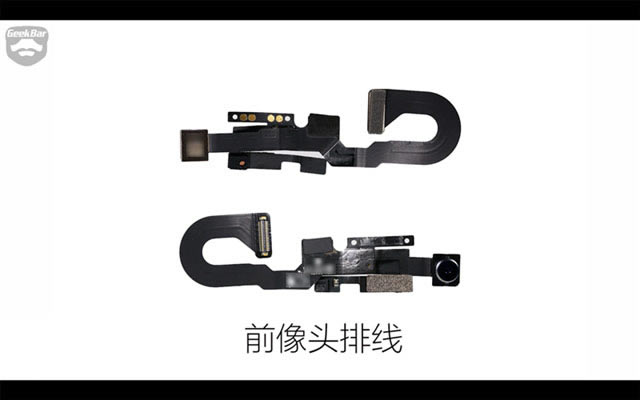
现在就可以将前置摄像头的排线断开了。
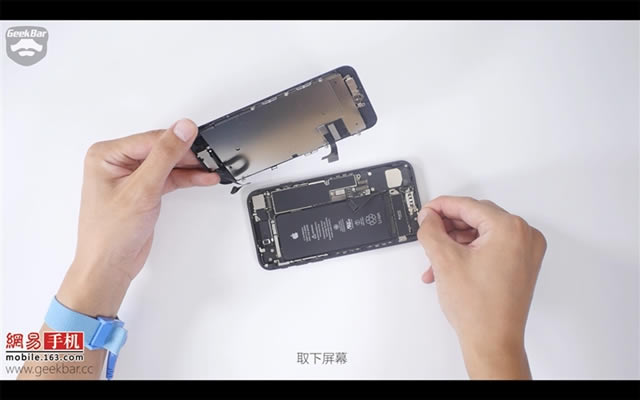
自此屏幕整版部分的排线就与主板完全剥离 可以拿掉啦。

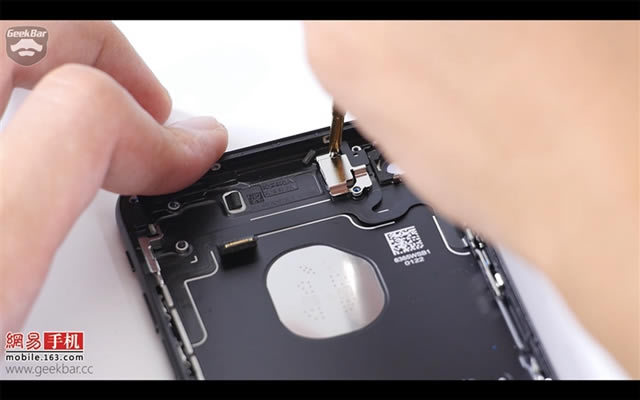
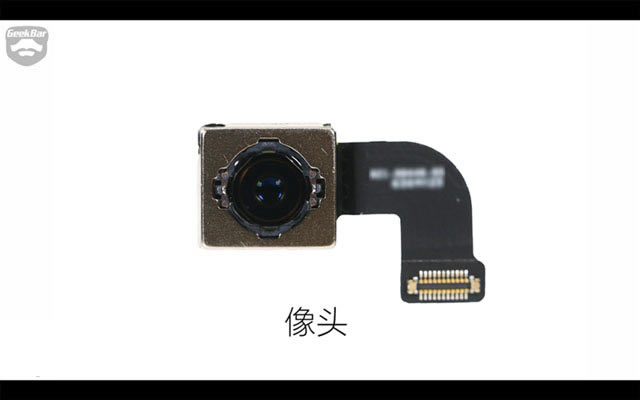
顺手取下主摄像头。
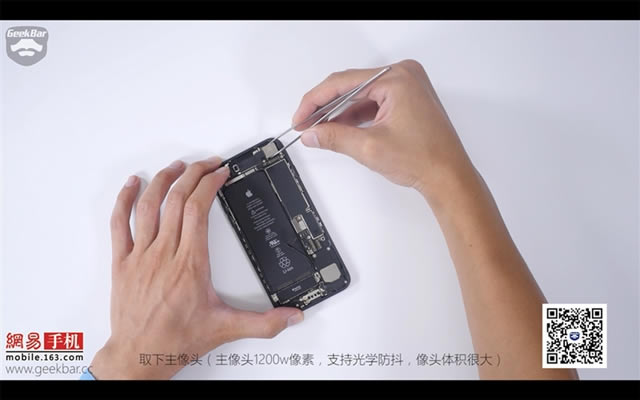
1200万像素 支持光学防抖的摄像头很大 很突。
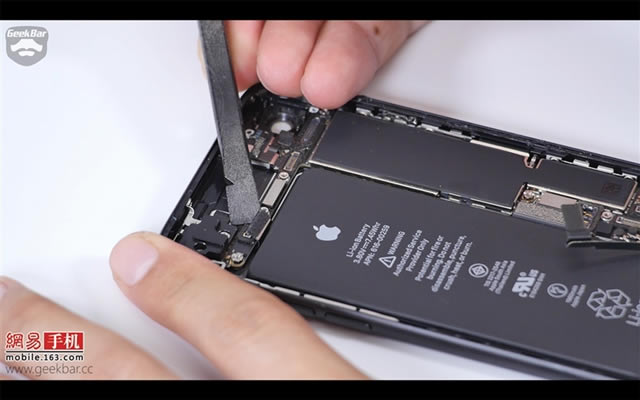
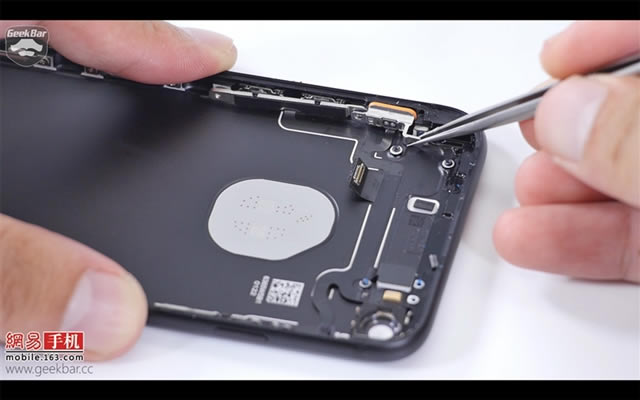
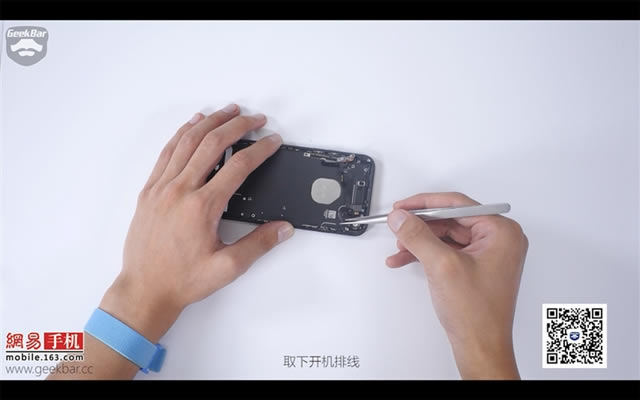
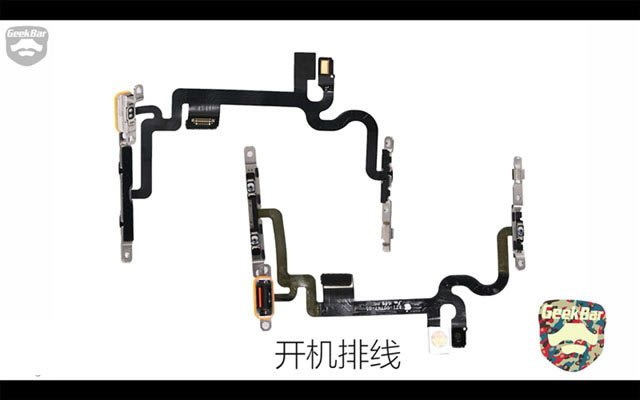
断开开机排线。
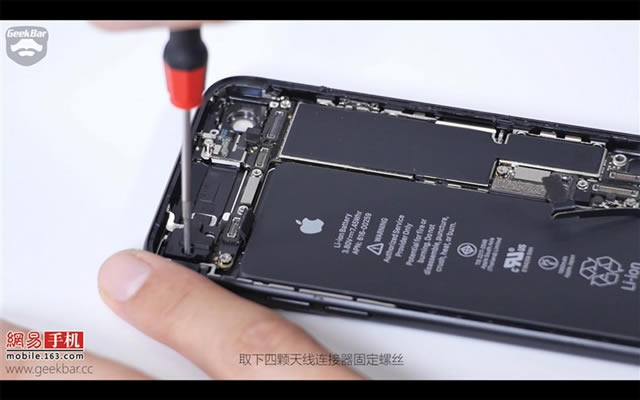
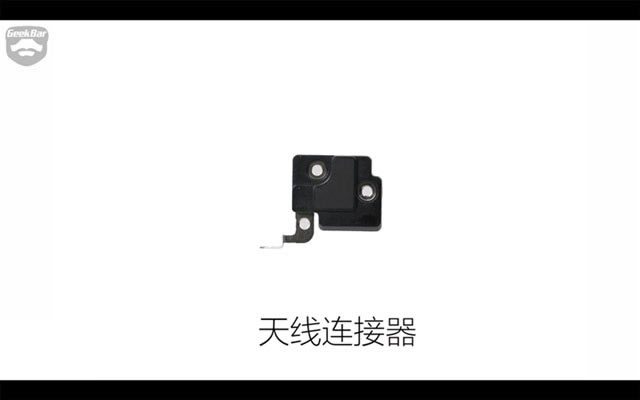
这个部分是天线连接器 先拿掉固定螺丝。
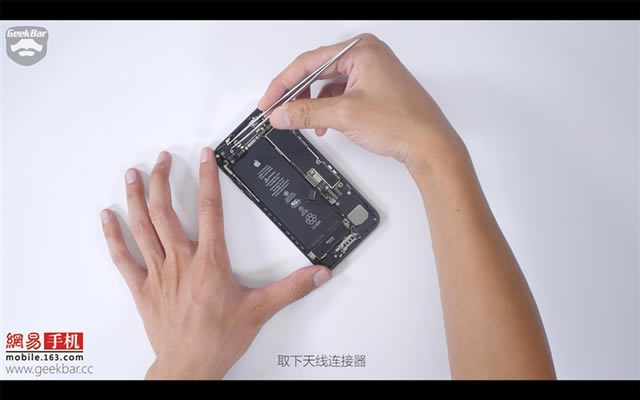
恩 天线连接器就这么拆了下来。
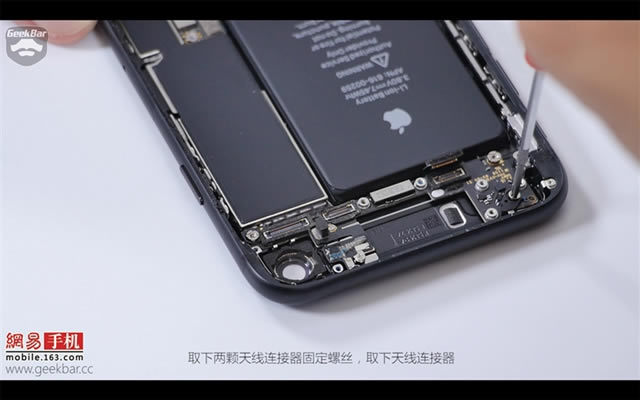
还有一颗螺丝固定 拆之。
好了 “闲杂人等”都已经排除 该折腾主板了。
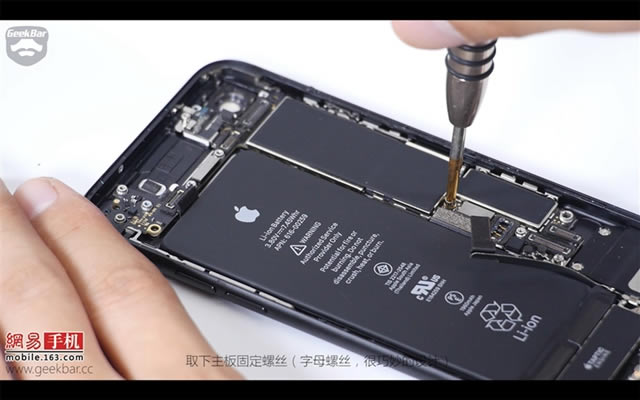
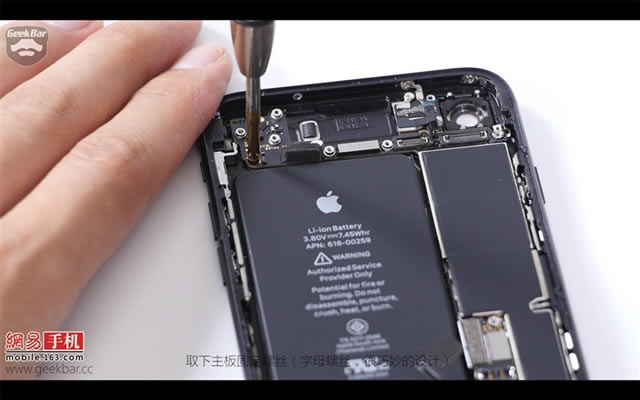
固定螺丝解放。
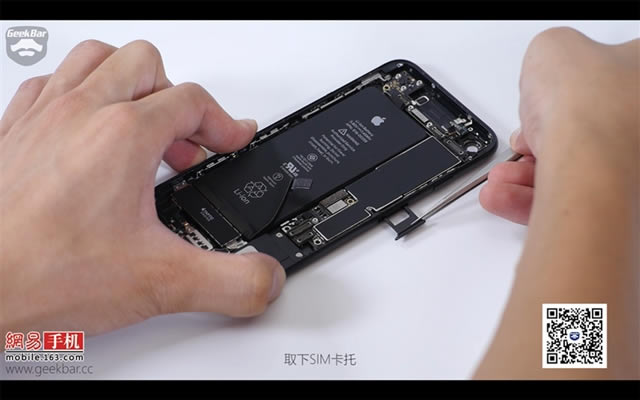
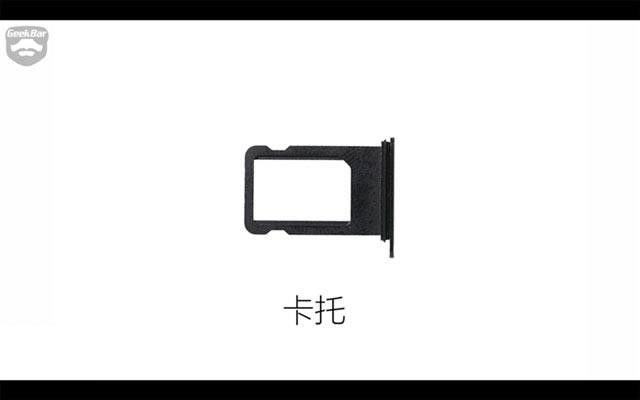
卡托记得拿掉 不然死撬可是要出大问题的。
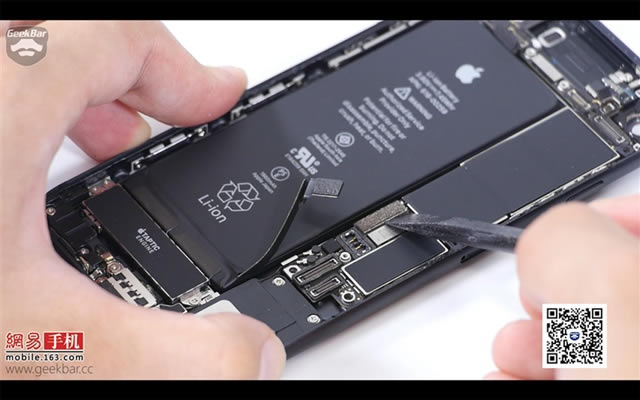
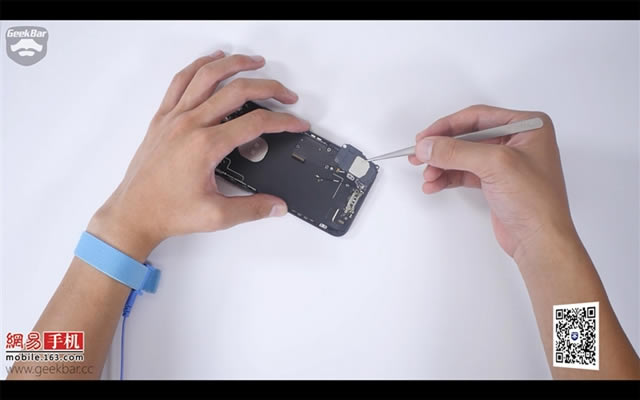
尾插排线挑开 注意下放的两个天线连接线也要断开。
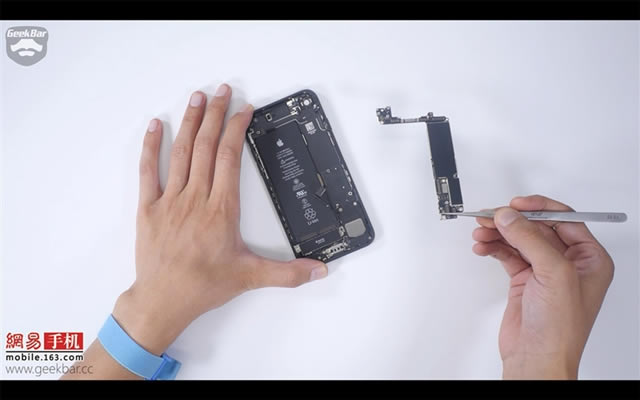
最有内涵的主板成功得被分离了出来。
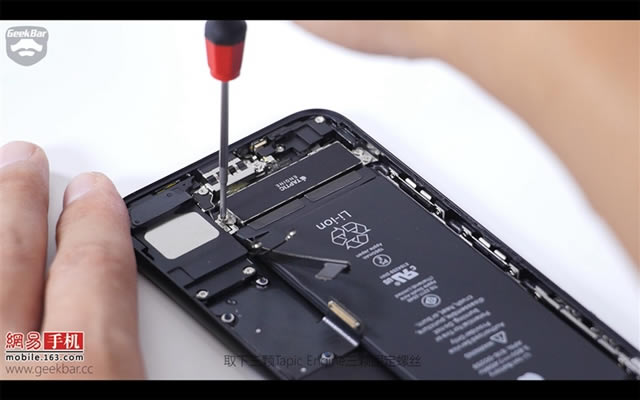
取下三颗Tapic Engine三颗固定螺丝。
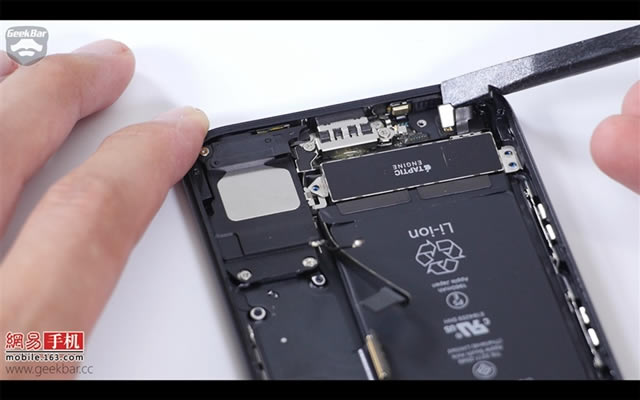
取下两个挡板固定螺丝 断开Tapic Engine排线 取下Tapic Engine 真的是超大个。
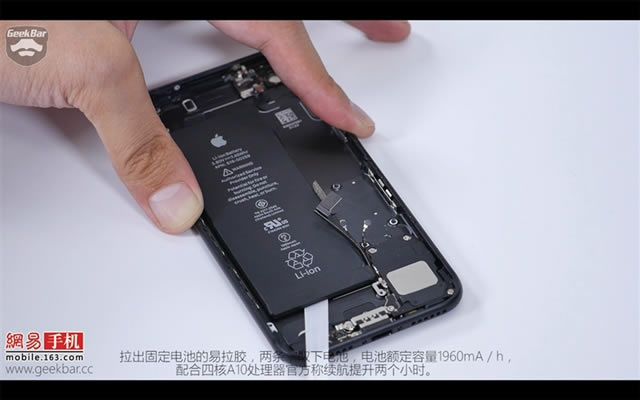
拉出固定电池的易拉胶,两条,取下电池,电池额定容量1960mA/h。
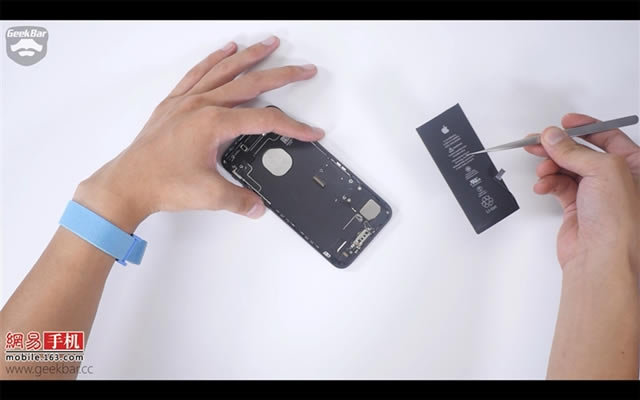
电池 走你。
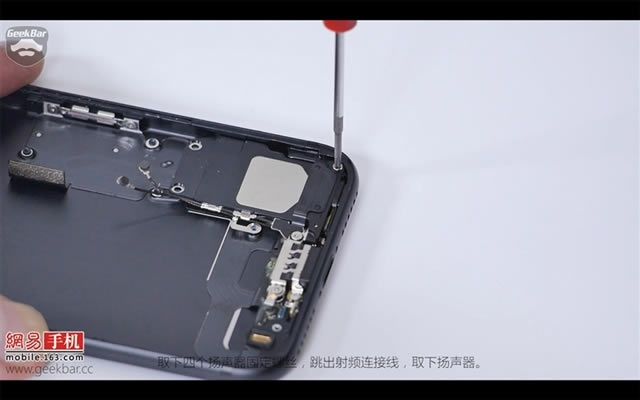
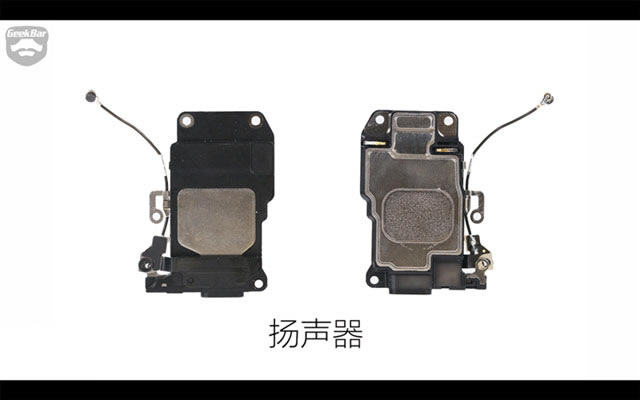
这里是扬声器部分 四颗螺丝卸除之后 挑出射频连接线。
扬声器say goodbye。
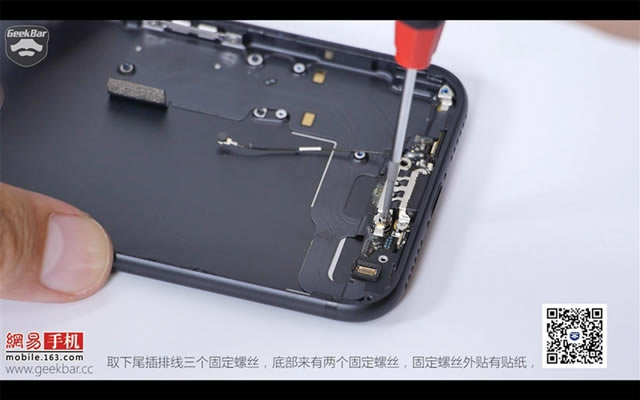
三颗尾插排线固定螺丝之一外有贴纸 很显然 拿掉之后就无法完美还原。
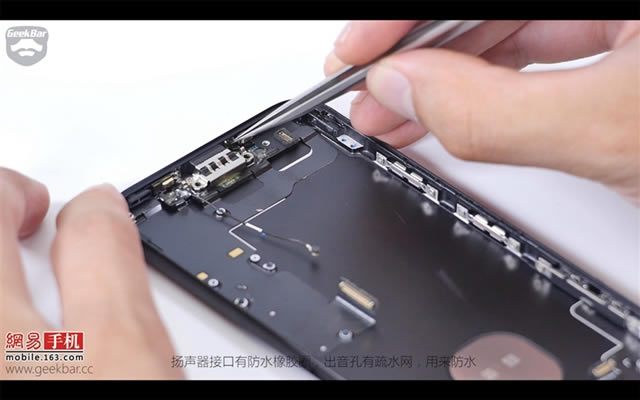
扬声器接口部分有香蕉圈 出音空有疏水网 自然是为了防水。
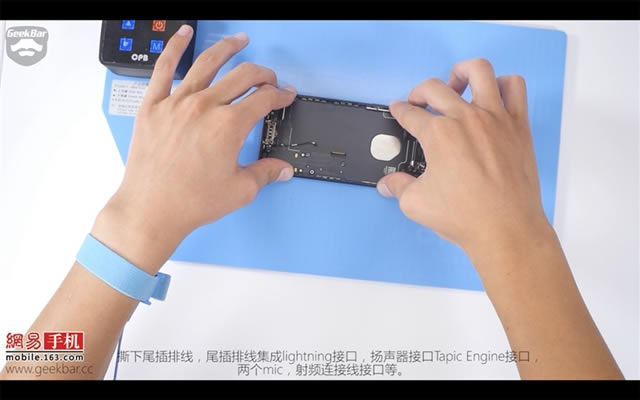
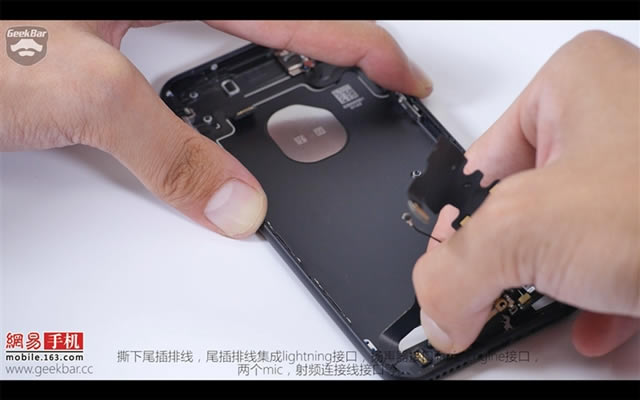
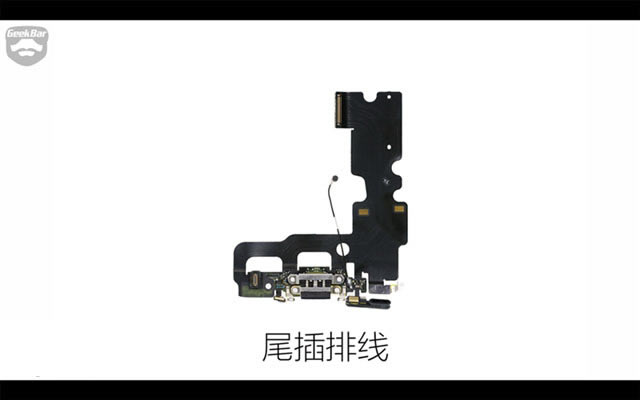
撕下尾插排线,尾插排线集成lightning接口,扬声器接口Tapic Engine接口,两个mic,射频连接线接口等。
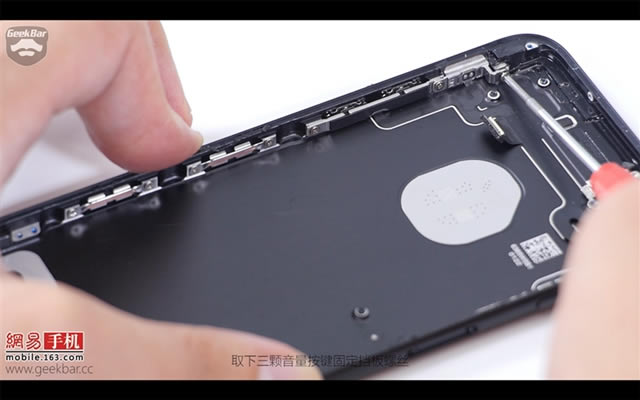
取下左侧三颗音量按键固定螺丝。
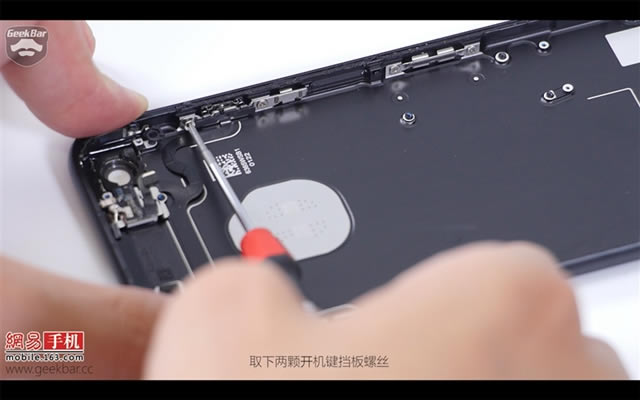
再来两个开机键螺丝。
拆下闪光的固定挡板。
可以看到静音键外侧有防水密封圈。
按键部分的排线就这样被松了下来。
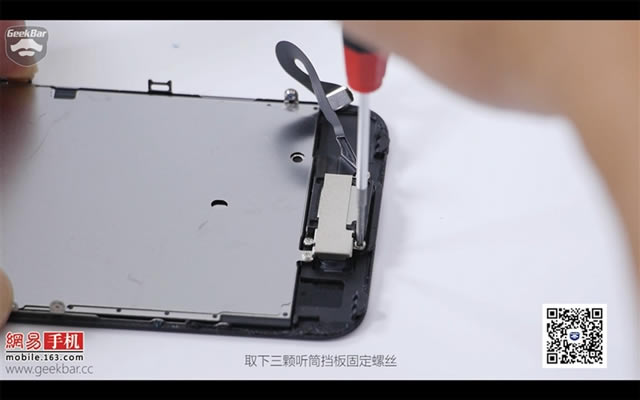
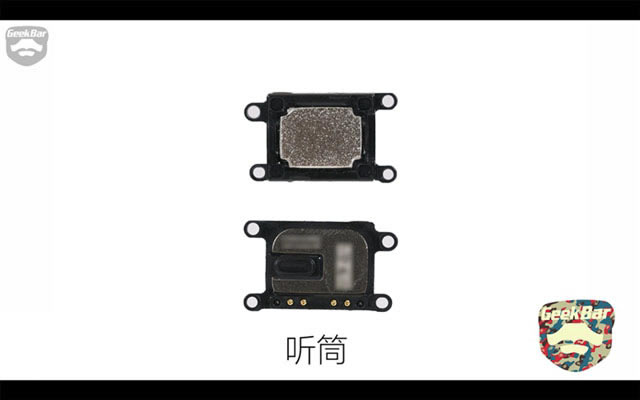
再次回到屏幕模组上来 听筒&扬声器的拆除 先拆掉挡板再说。
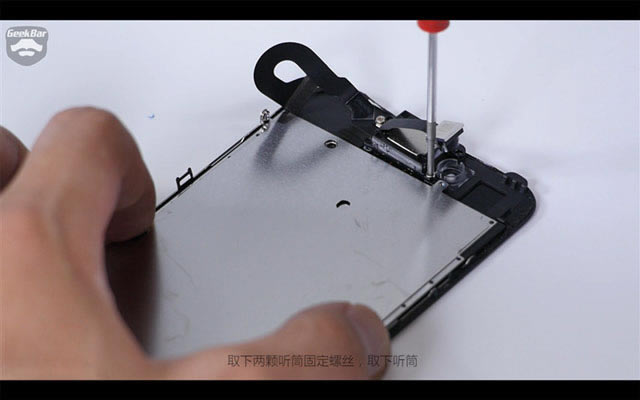
前置摄像头在取下挡板之后翘起。

不要在意 取下听筒。
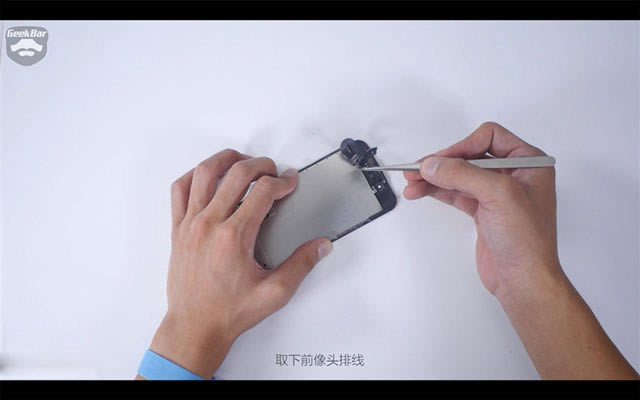
前置摄像头也跑不了 拿掉拿掉。
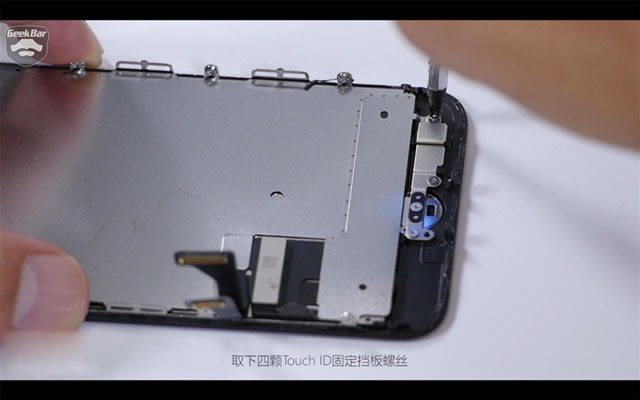
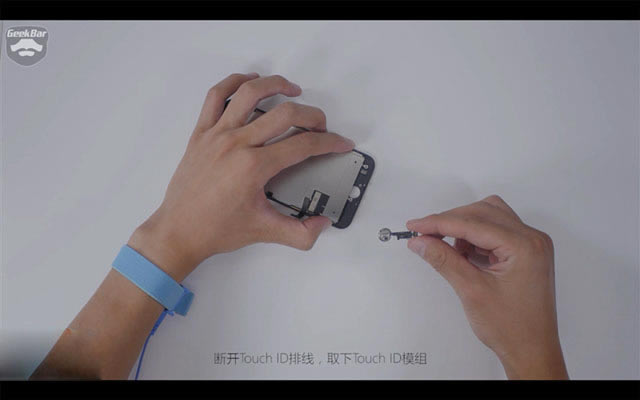
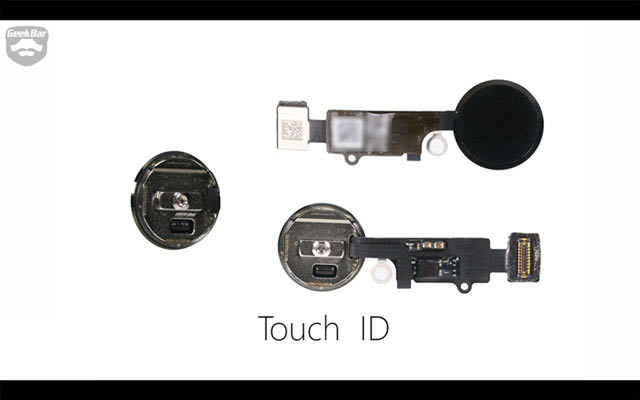
挡板又见挡板 这一次是Touch ID。
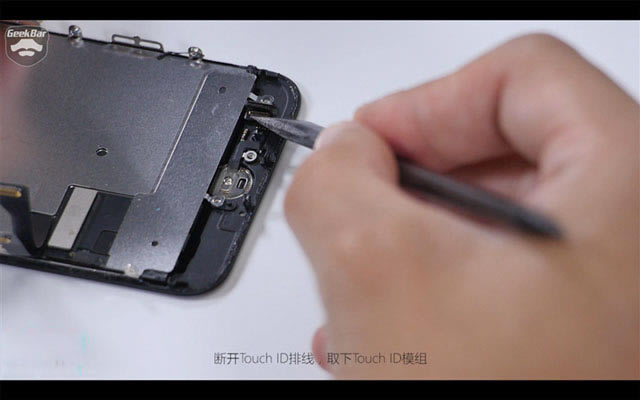
断开排线 Touch ID走你。这个再也按不下去的Home键呐 手感其实还不错。
这个超大块头的Taptic Engine为手机提供了各种各样的震动反馈 iPhone 7会取消耳机插口省空间 一部分因素肯定来源于它。

可以看到的是,在诸如音量键,静音拨钮以及像扬声器等等可能会与外界有所接触的地方,都有密封橡胶的存在,防止水分进入。lighting接口部分则是通过疏水涂层保护了起来。可以说基本上都是通过橡胶来防水,没有什么特别的技术。
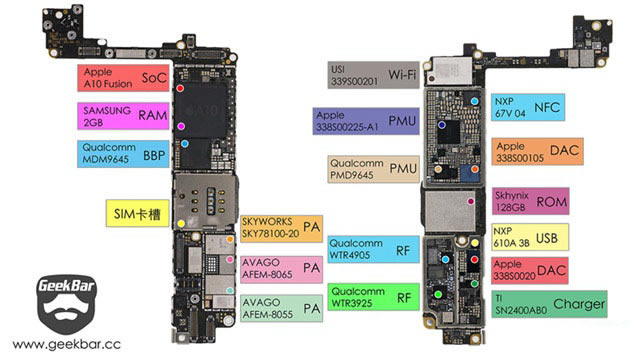
接下来详细说说iPhone 7的主板上都有些什么“内涵”。
首先非常明显的就是A10 Fusion处理器,面积较之前变大,采用POP封装,上半部分为RAM,容量为2GB,下半部分为A10处理器。处理器下面是高通MDM9645基带处理器,最高支持450Mb/s的下载速度。
随后是相对而言巨大的SIM卡槽,未来如果能在手机中直接虚拟SIM卡,想必是极好的,只不过想过运营商那一关实在是难。
接着是射频部分,正面集成四个功放,分别是英飞凌和AVAGO功放,下面还有电池排线接口,尾插排线接口和屏幕接口。
主板背面最大的是闪存芯片,采用了海力士128GB TLC(还记得当年的MLC TLC风波么)的闪存芯片,应该和iPhone6s一样采用PCIE高速接口,最高读取速率达到500MB/s。
最上边的是Wi-Fi芯片,iPhone7的Wi-Fi芯片是一个异形的Wi-Fi芯片,支持801.1a/b/g/n/ac。它下面正方形的NXP NFC芯片,用于Apple Pay支付。再接着的是手机的电源管理芯片,负责给整个iPhone电路供电。
主板下半部分有TI定制的USB控制芯片和充电芯片,还有显示芯片。另一半是射频电路,基带供电芯片和调制解调器,天线开关,滤波器等,负责手机的射频部分。
iPhone7的大部分芯片都是定制芯片,而主板的紧凑性仍属业内领先地位。从拆解的层面上来说,iPhone 7仍然不负它顶级智能手机的名号。
以上就是本站小编为大家带来的苹果iPhone7拆机评测全过程了,希望可以帮助到大家,大家如果还有疑问的话,可以在下方的评论框内给我们留言哦。我们会尽自己所能的为大家解答。谢谢大家一如既往的支持,也请大家继续关注本站的后续教程和软件。
目前高端手机市场,iPhone手机快要形成一家独大的形势。
推荐资讯 总人气榜
最新教程 本月人气
- 1京东iPhone6降价至3788 与iPhoneSE如何选...
- 22000元差在什么地方里?iPhoneSE与iPhone6...
- 3iphone5SE设置如何 iphone5SE手机设置详情...
- 4苹果iPhoneSE如何买更廉价?iPhoneSE全球购买...
- 52019苹果新款手机详情 iphone11/11 Max/...
- 6iPhone11pro max如何复制文字?
- 7iPhone11/Pro/Pro Max换屏幕要谨慎 非原...
- 8iPhone11 Pro值得买吗?iPhone11Pro/...
- 9iPhone11pro max如何截屏?iPhone11p...
- 10iPhone11pro max支持不支持快充?
- 11iPhone11pro max如何打开多任务管理?
- 12iPhone11如何下载两个微信?iPhone11/pro...
- 1iPhone11 Pro值得买吗?iPhone11Pro/...
- 2iPhone11pro max如何截屏?iPhone11p...
- 3iPhone11pro max支持不支持快充?
- 4iPhone11pro max如何打开多任务管理?
- 5iPhone11如何下载两个微信?iPhone11/pro...
- 6iPhone11pro max关闭通知显示消息详情的设置方...
- 7如何辨别改装机 教你辨别iPhone XR改装的iPhon...
- 8iPhone13买128还是256 iPhone13买12...
- 9iphone13Pro续航如何 iphone13Pro电池...
- 10iPhone13信号断断续续如何办?iPhone13信号差...
- 11iphone13promax与iphone12哪款值得买?...
- 12iPhone13屏幕卡住关不了机如何办 卡死无法关机处理方...
